In mechanical and mold design, precise positioning of parts is crucial, and tight tolerances are necessary to achieve accurate alignment. While drilling a hole straight away may not achieve tolerances like H7 and H6, the introduction of reaming and reamers has revolutionized the process.
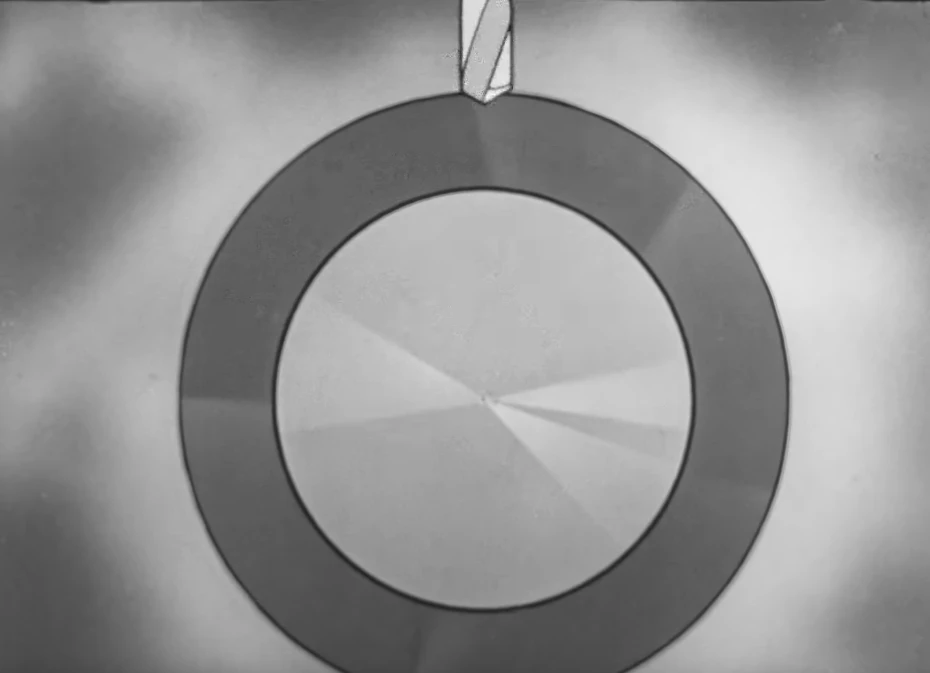
To illustrate, let’s consider the example of drilling a 10mm pinhole with H7 tolerance. The first step is to use a 9.8mm diameter drill to create a rough hole. This slightly undersized hole sets the stage for the final step. Next, a 10mm H7 reamer is used to accurately enlarge the hole to the correct size with the desired tolerance.
- Understanding Reaming
- The Reaming Operation
- Reaming vs. Other Machining Processes
- Types of Reamers
- Preparation for Reaming
- Tips And Best Practices For Reaming Operation
- Alternative Options To Conventional Reaming
- Conclusions
- Quick FQA for Reaming
- Can reaming be done with a CNC machine?
- What is the cutting speed for reaming?
- What is the reaming process in machining?
- What size should I drill before reaming?
- Why is reaming more accurate than drilling?
- How much material can you remove with a reamer?
- What are the three types of reamers?
- Why should a reamer never be turned backward?
- What is the difference between reamer and reaming?
- Is reaming better than fine boring?
- When using a reamer in which direction should it be turned?
- What is the hole tolerance with reamer?
- Is reaming and deburring the same thing?
- What does H7 mean on a reamer?
Understanding Reaming
It’s a bit like the final touch, the cherry on top of your machining process. Now, you might ask, “Isn’t that what drilling is for?” Well, not quite. While drilling is used to create the initial hole, reaming refines it to a higher level of precision. Don`t confuse it with deburring, that’s a different process altogether, used to remove sharp edges after machining, but reaming accesses to the inner surface of the hole. So, in essence, reaming is the process, and the reamer is the tool we use in the process.
The Reaming Operation
Now, let’s talk about the reaming operation itself. The beauty of reaming lies in its precision. With traditional reamers, you need to typically operate between 400-500 RPM, with a feed per tooth of 0.15 mm-0.25 mm.
This careful control allows you to remove just the right amount of material, generally not more than 0.05 mm-0.25 mm in diameter. You can perform reaming with CNC machines, and conventional machines.
With this operation, you can achieve holes with very precise dimensions that are typically manufactured to H7 tolerances.

Reaming vs. Other Machining Processes
Reaming is often compared to other machining processes like fine boring. While both have their advantages, reaming generally provides a smoother finish on small and medium-sized pin holes (0mm to 20mm).
On the other hand, fine boring can remove more material for larger holes. As for drilling cycles, they can be used for reamed holes, but remember that the G85 cycle is specifically designed for reaming operations.

Types of Reamers
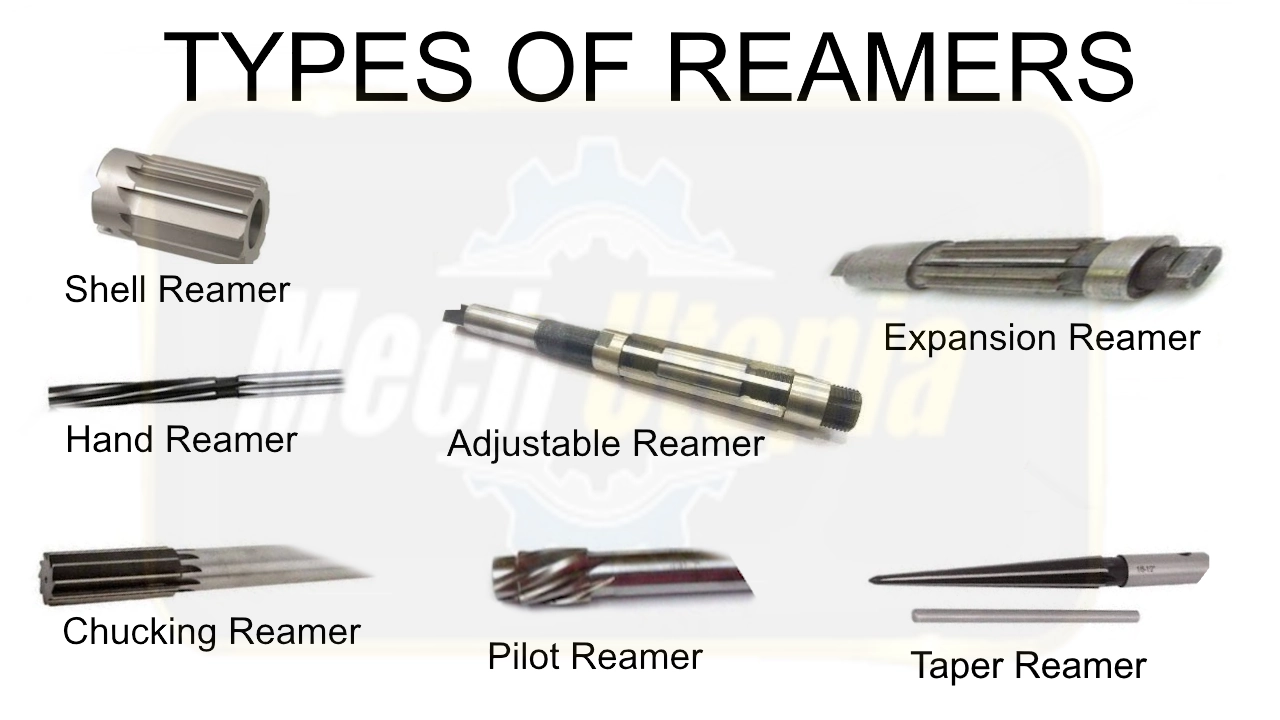
Speaking of reamers, there are several types that we use in our workshops. They are pretty standardized so any CNC job shop or mechanical repair shop must have them. The three main types are hand reamers, machine reamers, and shell reamers. Each has its unique features and applications, and understanding them can significantly enhance your machining skills.
- Hand Reamers: As the name suggests, hand reamers are used manually and are perfect for small-scale tasks where precision is important. They come with a square shank for a firm grip for holding with a handle. Remember, these tools are designed for light cutting, so they require a gentle touch.
- Machine Reamers: These reamers are designed for machine usage, such as in a mill or a drill press. They are typically made of high-speed steel or carbide for durability and precision. Machine reamers offer excellent performance in creating accurate and clean holes in a workpiece. Can be used with CNC machines.
- Shell Reamers: Shell reamers are unique in that they are designed to be mounted on a special arbor. They are typically used for reaming large diameters and offer the advantage of being able to be adjusted to ream a range of hole sizes.
- Chucking Reamers: These are used in lathes, screw machines, and drill presses. They are perfect for any type of machine that can hold a chucking reamer.
- Taper Pin Reamers: These are used to finish and adjust the size of pre-drilled taper pin holes.
- Expansion Reamers: These reamers can be expanded slightly after being worn down, extending their life.
- Adjustable Reamers: The blades of these reamers can be adjusted to ream holes of varying sizes.
- Straight Fluted Reamers: These reamers have straight cutting edges along the length of the flutes. They are used when the reamer must be guided without the aid of the machine.
- Left-Hand Spiral Right Cutting Reamers: These reamers are used when a left-hand spiral is required in a right-hand cut. They are used for reaming through holes.
- Right-Hand Spiral Left Cutting Reamers: These are used when a right-hand spiral is required in a left-hand cut. They are used for reaming blind holes.
- Bridge Reamers: These are used for aligning existing holes before bolt or rivet installation.
- Car Reamers: These are used for enlarging, shaping, or finishing pre-drilled holes in automotive assembly operations.
- Taper Pipe Reamers: These are used to ream holes for tapered pipe threads.
Preparation for Reaming
Before you start reaming, there are a few things you need to keep in mind. First, the hole you drill should be 1-2% smaller than the final hole diameter. Second, always turn your reamer in the cutting direction, which is typically clockwise. And remember, never turn your reamer backward. The blades are sharpened to cut in one direction, and turning it the other way can damage them.
Tips And Best Practices For Reaming Operation
- Tip-1: Put Chamfer; You need to put chamfer before reaming the hole. Because if you put chamfers after reaming then chamfering stress on the edge of the hole going to cause deformation on the final diameter.
- Tip-2: Put Countersinks; Similar to chamfers countersinks must be machined before reaming a hole.
- Tip-3: Avoid Second Go; Sending the reamer to the same reamed hole again will not change the diameter of the hole. Rather, it can damage the teeth, and blades of the reamer.
- Tip-4: Watch Blind Holes; Unlike drills, reamers release removed material to the bottom of the hole. So on a blind hole chip evacuation is almost impossible. Because of this reason, you must not ream till the bottom of the hole. You should keep a small room for chips. Otherwise, the reamer will smash and crash into the piled-up materials at the bottom of the hole.
- Tip-5: Use Oil; Use oil instead of water-based coolant, it gives a better surface finish.
- Tip-6: Use G85 Reaming Cycle; Prefer to use dedicated reaming cycles like G85 instead of drilling cycles.
- Tip-7: Avoid Reaming Soft Materials: Soft materials like plastics, silicon cannot be reamed. Metals are giving the best results for reaming operation.
Alternative Options To Conventional Reaming
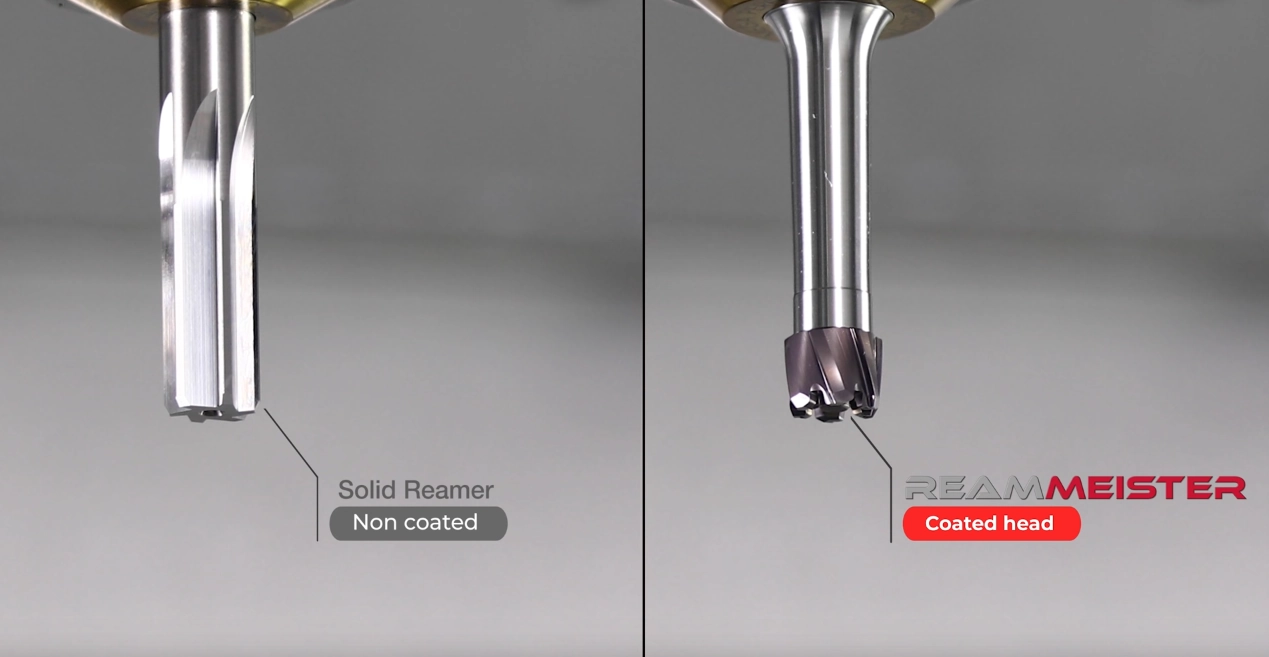
Option-1: Fast Reaming; As technology improves reaming technology goes further too. Lastly, I wrote an article about KenReam’s fast-reaming revolution introduced by Kennametal to the industry. It is a very fast solution if fast operations times are required.
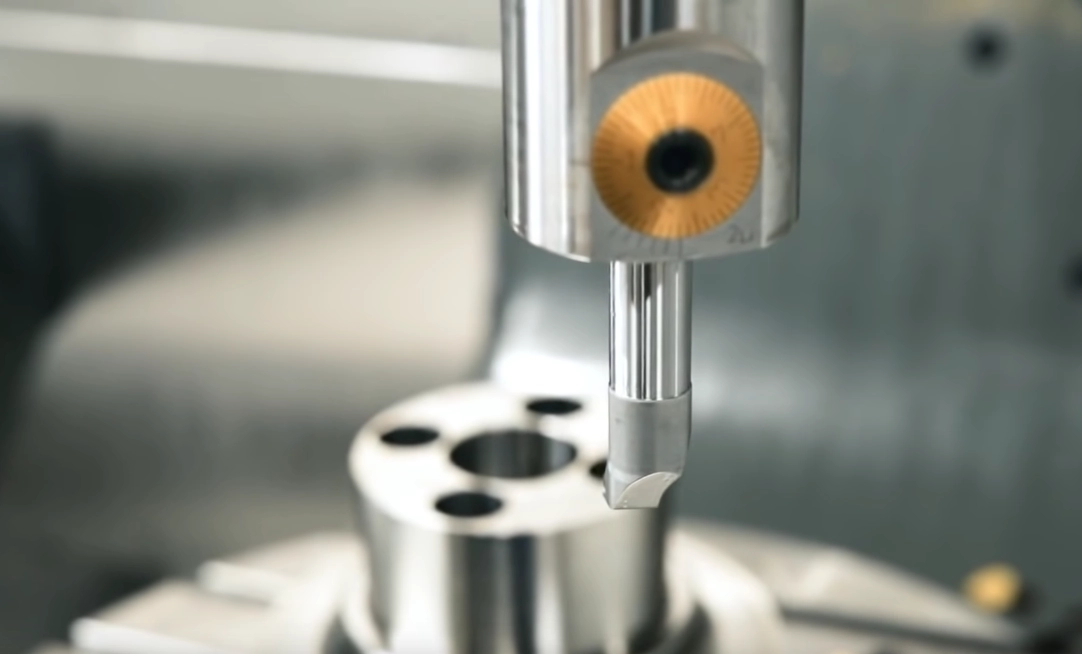
Option-2: Fine Boring; Also using a boring bar with an adjustable holder can give you a reasonable solution. But you need to test and re-measure them again and again until reach to correct final diameter. This option can be slow.

Conclusions
In conclusion, understanding and mastering reaming operations is a crucial skill for any CNC machinist. It’s a testament to our commitment to precision and quality, and it’s a skill that can set you apart in this competitive field. So, keep learning, keep improving, and remember – in the world of CNC machining, precision is king!

