Introduction
In the mechanical part manufacturing world, we often encounter tools that make our work simpler and more efficient. One such tool is a die, in my whole experience, I’ve had the privilege of using dies extensively in my work. Threading on the outer side of a rod with a die requires technical and theoretical knowledge to finish the task properly. Today, I’m excited to share my knowledge and experiences to help you understand and master threading with a die.
Table for tap sizes for metric check this link,
Table for tap sizes for Imperial BSPT check this link,
Hand tapping process is explained detailed here,
Understanding the Die and Its Purpose
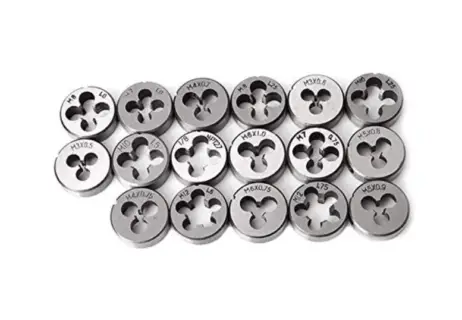
A Threading Die, unlike a Tap which is used to create inner threads in holes, is designed to create outer threads on rods. It’s a handy tool that can be used to extend bolt threads or to add threads to a rod’s shoulder that doesn’t have any.
The hexagonal structure of dies makes them easy to fit into a wrench, allowing the turning moment to be transmitted to the die to cut(shape) threads. This design makes the process of cutting screw threads with dies incredibly straightforward.
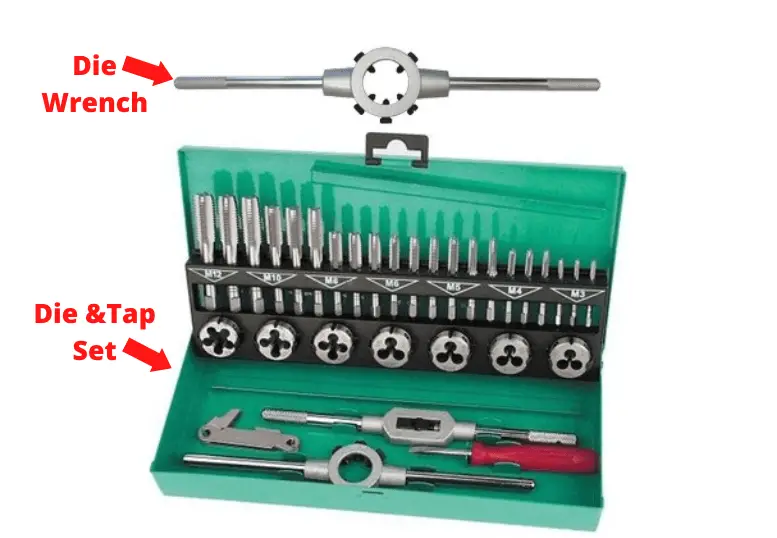
The Die Wrench and Its Varieties
The die wrench, a vital piece of equipment in threading, has a body that shapes the thread, allowing it to be threaded by hand. The wrenches, provide the rotational movement needed for manual threading. The sizes of the threaded rods can vary. So we have a huge range of wrenches.
For example, you would use a small die wrench to thread a M4 and a medium range for a M10 thread. Even you can cut outer M20 threads to a 20mm diameter rod with the largest wrench M20 die attached to it. All die wrenches are made of a type of steel known as alloy steel to outstand against the high rotational moment.
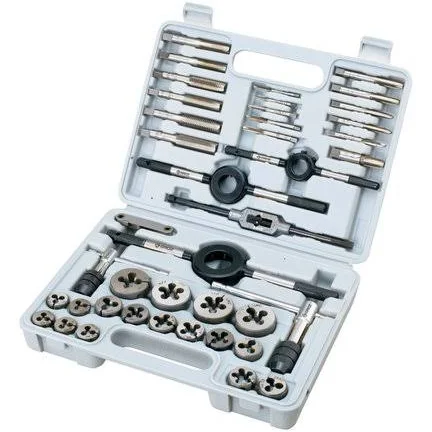
Exploring the Different Types of Dies
Threading tools used in machine threading are known as machine threads and taps, and they are typically used in mass production. However, when we don’t need to make screws in large quantities, we use screw-cutting tools(Die). If you are working with pipes, we use pipe threads, which differ from other threads.
Die has seven(7) common types:
1) Solid Dies
Solid dies are one-piece dies made from high-speed steel (HSS) or carbon steel. They have a threaded hole in the center and are used for manual or machine threading. Solid dies are available in different sizes and pitch types to create threads of various dimensions. This is the most common type of die which you can almost in any workshop.
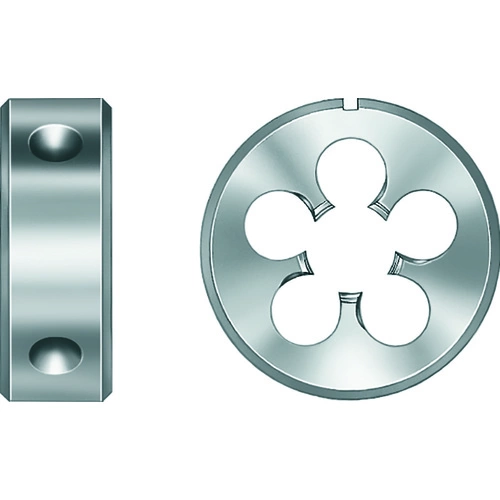
2) Adjustable Dies
Adjustable dies consist of two parts:
- Split circular die: The split die has a threaded section that can be opened or closed using the adjusting screw. This allows for slight adjustments in thread size or repair of damaged threads.
- Adjustable dies: Adjustable dies are commonly used for maintenance and repair work.
3) Round Dies
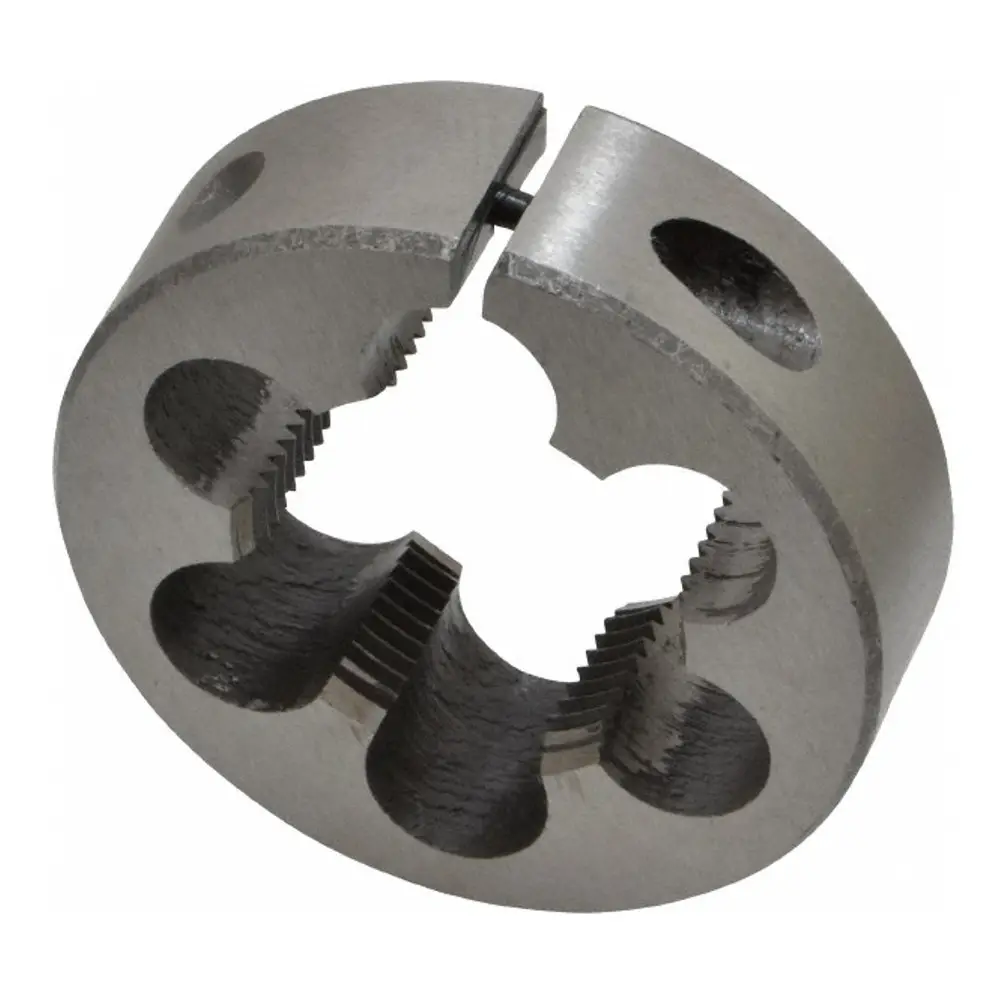
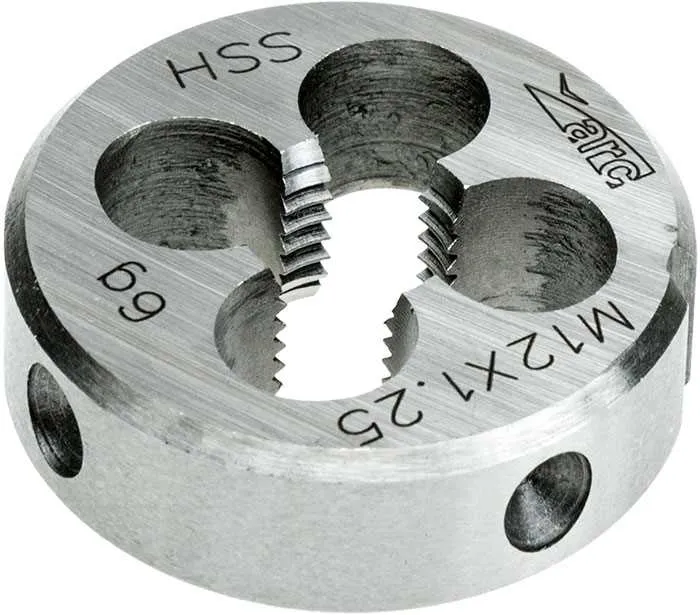
Round dies, also known as button dies, are small, cylindrical die with a sharply threaded hole in the center. They are typically used for hand threading and are suitable for threading short lengths of material or in tight spaces. Round dies are often used with die stocks or wrenches for manual threading operations.
4) Hex Dies
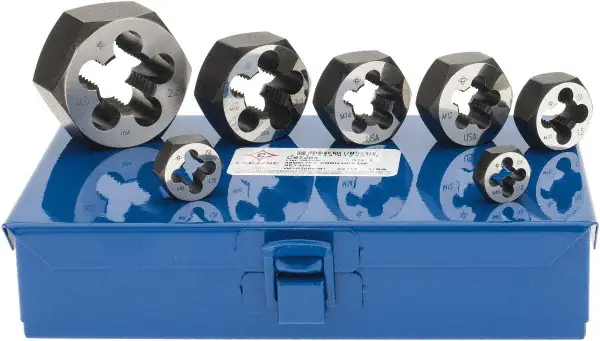
Hex dies have a hexagonal shape with a threaded hole in the center. The hex shape allows for easy gripping with a wrench or die stock handle. Hex dies are commonly used for cutting external threads on hexagonal or square-shaped materials, such as bolts or nuts.
5) Pipe Dies
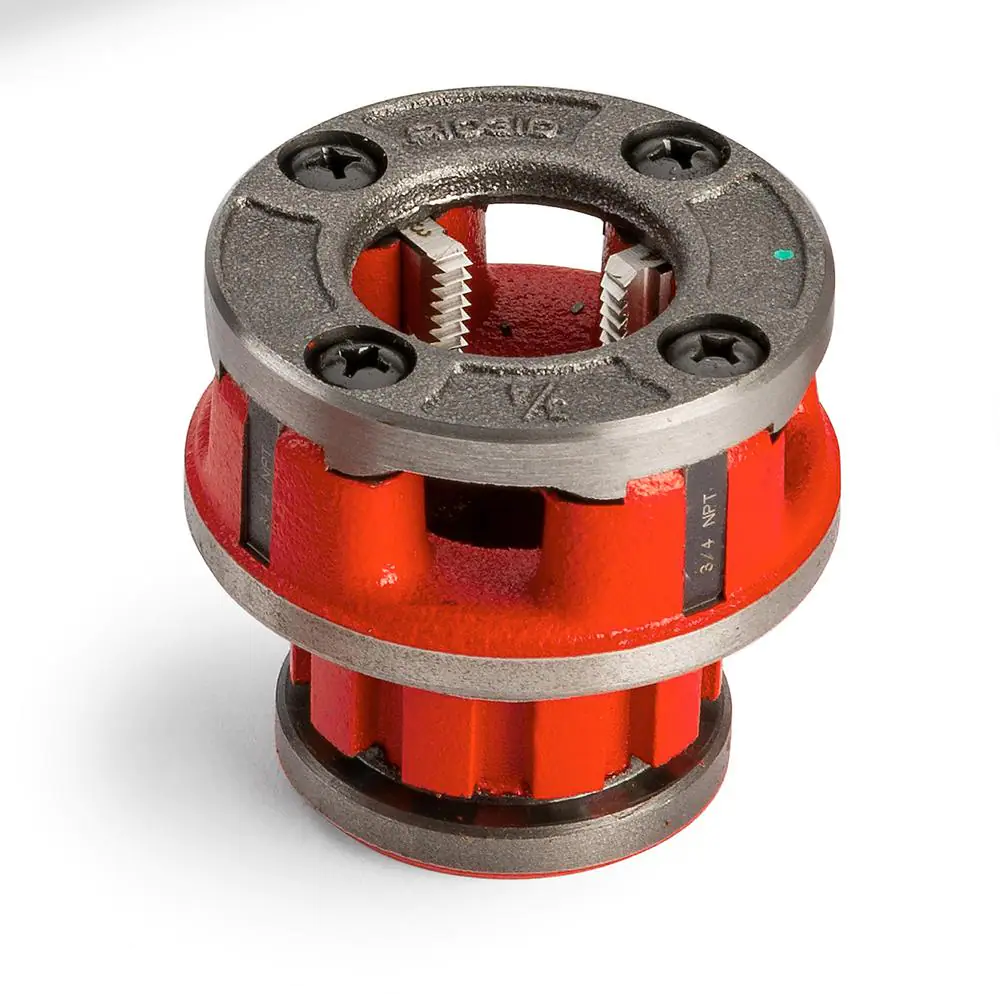
Pipe dies are specifically designed for threading pipe threads. They are available in various sizes and thread standards, such as NPT (National Pipe Thread) or BSP (British Standard Pipe). Pipe dies typically have tapered cutting edges to match the tapered shape of pipe threads.
6) Die Sets
Die sets include multiple dies of different sizes and thread pitches, along with a die handle or holder. They are often used in machine shops or for industrial applications where a variety of thread sizes and pitches are required.
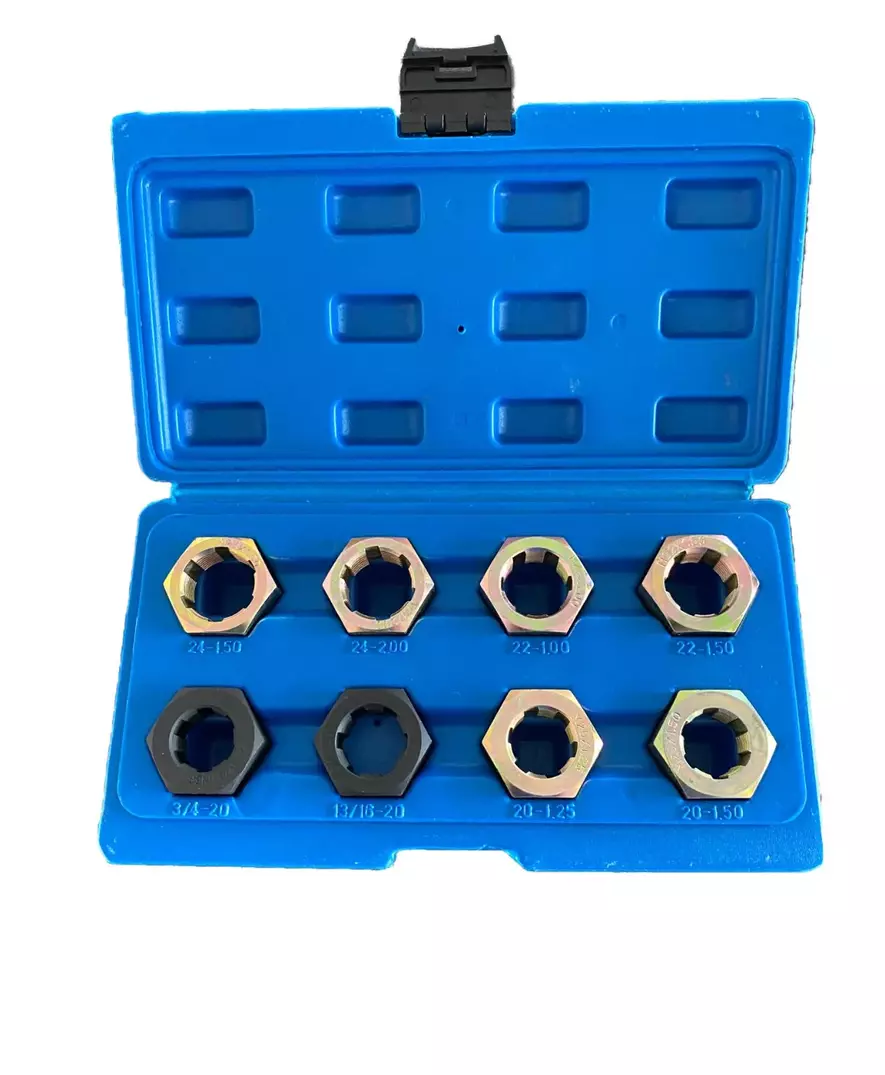
7) Thread Chasers
Thread chasers are dies used for repairing existing threads rather than cutting new ones. We call this operation rethreading and we are going to explain with details on further in this article. They have cutting edges on the outside that matches the thread profile. These edges are used to clean up and restore damaged threads.
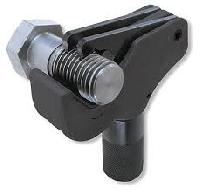
The Threading Technique
All hand-held dies have a slot for holding them together. The die is attached to the die wrench by aligning these fixing slots with the fixing screws and bolts on the die wrench. One side of the die is designed to go right through the part. It’s crucial to ensure that the die is not inserted the wrong way.
The entrance and the end of the hole with the threads should be chamfered. Before threading with the die you need to put chamfers at a Pitch x 60 Degree angle (you can put these chamfers with an angle grinder or lathe).
These chamfers are very important, they will ease the assembly process because chamfers will align the rod correctly into the hole. Also attaching a die at the beginning gets easier with a chamfer.
Tips for threading with die
- Put chamfer which is more than pitch. For example, if your screw pitch is 0.8mm(0.0315 inches) put a chamfer 1mm x 60DEG, or 1mm x 45DEG.
- You can reduce it to 0.1 mm to achieve a better cut if the material is too hard.
- Use a lubricator to ease thread cutting.
- Turn the handle a little bit back always to realize the stress from the long swarf building.
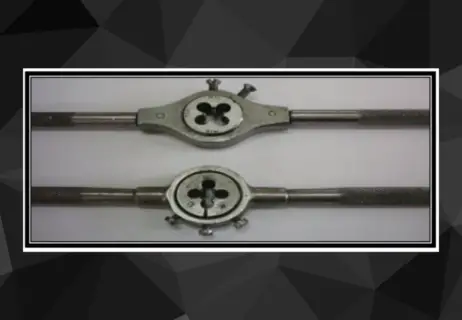
Threading The Die Wrench By Inserting The Die
The process of threading involves exerting force on the die wrench and turning it clockwise (if it is a right-handed thread) after the thread has been pressed as far as possible on the axis of the workpiece. This is done slowly to ensure that the thread shapes the workpiece.
Small amounts of cutting oil are periodically dripped on the threads to facilitate the cutting process. Just like tapping, the wrench needs to be turned back and forth to allow the chips to break off and fall.
If this is not done, chips can get stuck in the die, making threading difficult and deforming the shape of the thread. Once the job is done, the die is removed, cleaned, and stored properly.
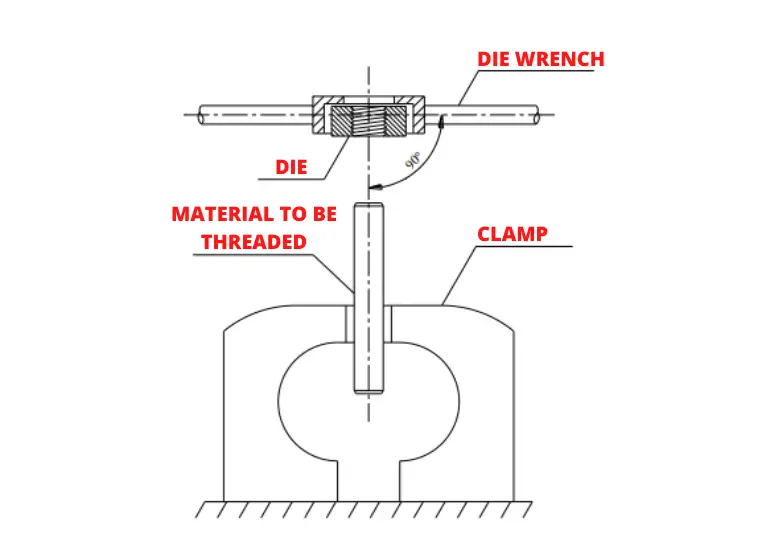
Step By Step Threading With Die
Attach the die to the die wrench and place it at an angle of 90° to the part surface. Let the die cut the piece. Obtain the desired number/size of the thread profile.
- Step-1: Chamfer the end of the material to be threaded with a file.

- Step-2: Attach the die to the die wrench.
- Step-3: Periodically lubricate the material.
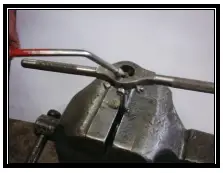
- Step-4: Thread the thread by turning the die wrench clockwise.
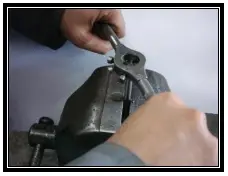
- Step-5: Turn the die back occasionally.
- Step-6: Blow air there to clean the chips and check the opened threads.
Rethreading with a Die
I have always found rethreading as a lifesaver. Rethreading is the process of repairing or restoring the threads on a bolt or rod that has become damaged or worn over time. This is typically done using a tool known as a thread chaser or a die.
When to Rethread
Rethreading is necessary when the threads on a bolt or rod are damaged, making it difficult or impossible to screw on a nut or fit into a threaded hole. This can occur due to cross-threading, over-tightening, or general wear and tear.
How to Rethread
- Identify the Thread Size: Before you begin, you need to identify the size and pitch of the threads you are repairing. This will determine the size of the die or thread chaser you need to use.
- Secure the Workpiece: Secure the bolt or rod in a vise or similar tool to hold it steady during the rethreading process.
- Apply Cutting Oil: Apply cutting oil to the threads. This will lubricate the die or thread chaser and make it easier to cut the threads.
- Start the Die or Thread Chaser: Place the die or thread chaser onto the threads, ensuring it is aligned correctly. Apply gentle pressure and turn the tool clockwise to begin cutting the threads.
- Turn Back Occasionally: Every half turn or so, turn the die or thread chaser counterclockwise. This helps to clear out any debris and prevents the tool from jamming.
- Clean the Threads: Once you have rethreaded the entire length of the bolt or rod, remove the die or thread chaser and clean the threads to remove any remaining debris.
Sizes For Die Threading
| Thread Size | Rod Diameter (mm) | Rod Diameter (inches) |
|---|---|---|
| M2 | 2mm | 0.079 inches |
| M3 | 3mm | 0.118 inches |
| M4 | 4mm | 0.157 inches |
| M5 | 5mm | 0.197 inches |
| M6 | 6mm | 0.236 inches |
| M8 | 8mm | 0.315 inches |
| M10 | 10mm | 0.394 inches |
| M12 | 12mm | 0.472 inches |
| M16 | 16mm | 0.630 inches |
| M20 | 20mm | 0.787 inches |
Summary
As you can see, creating outer threads is a breeze with a die. Alternatively, you can use thread machining methods with CNC machines to create outer threads on rods. Especially CNC and conventional lathes have special cycles and gear combinations to cut threads on the rods.
Thread cutting with a die is a quick manual process that can be applied for just 10-20 parts but not hundreds. Remember, continuous learning is the key to mastering any skill, and threading with a die is no exception. Happy threading!

