- Introduction
- Stainless Steel Materials and Grades
- What makes stainless steel very hard to machine generally?
- Challenges and Risks in Machining Stainless Steel
- How to eliminate Stainless Steel machining risks and challenges?
- 10 Pro Tips for Working with Stainless Steel
- Should I use oil when drilling stainless steel?
- What type of drill bit is best for stainless steel?
- Helpful links.
- Summary
Introduction
This article deep dives into the difficulties of drilling stainless steel and offers suggestions for overcoming them. Also, we will provide 10 Pro tips for drilling, and milling stainless steel. We’ll also take a look at several drilling methods, from those done with CNC machines to those done by hand drill, as well as the procedures and equipment needed for each.
Also, you can check this article if you want more information about stainless steel.
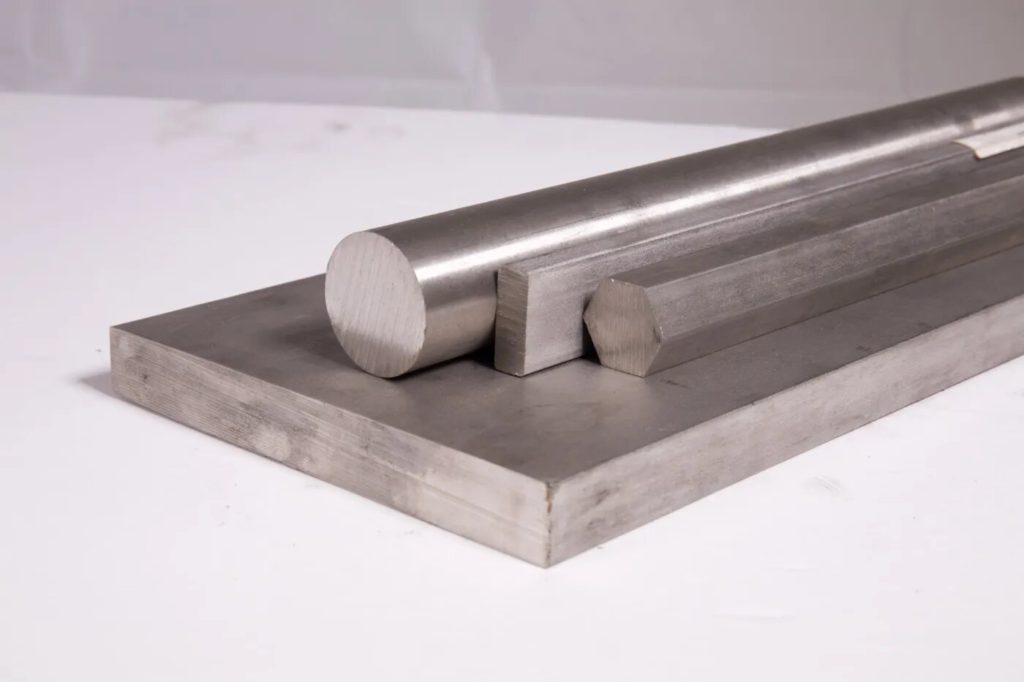
Due to its great hardness and mechanical stress, stainless steel is more challenging for drilling operations than other materials. However, if ones employ the proper method, astonishing outcomes are entirely easy to achieve.
Stainless Steel Materials and Grades
Below you can see a table that shows stainless steel with industry grades, do not forget higher “Hardness Rank” is a harder grade. I give this so you can have an idea of grades.
What makes stainless steel very hard to machine generally?
Its goodness like corrosion resistance and hardness also brings a lot of challenges. Stainless steel is a highly hard substance with a high level of chromium and its composition makes it tough for your tools to machine with cutters like end mills and drills.
When you are attempting to cut the material too much cutting stress occurs on the tool and this stress causes a lot of heat during cutting and it leads to edge building and finally tool breakage.
Because of its hardness, working with stainless steel will cause your tools to get worn down more quickly in comparison to working with most other materials. Also, it is an expensive material compared to others like aluminum and mild steel.
Challenges and Risks in Machining Stainless Steel
You may want to machine your part with general Drilling, milling, turning, broaching, etc. operations. Keep in mind always, does not matter which operation you apply stainless is always Problematic. So you must know the risks it brings and these risks can put you in very hard situations in your workplace.

Stainless Steel machining risks can be categorized into two levels General Level and Application Level.
Let’s look at some General Level Risks below;
General Risks;
Here is below table Application Level Risks;
Application Level Risks;
How to eliminate Stainless Steel machining risks and challenges?
Until now you saw the size of challenges and risks. The picture below shows how you can clear a melted hole. A helical tool path clears the bottom of the hole.
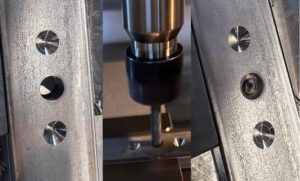
To eliminate the general level risks consider and apply these best practices.
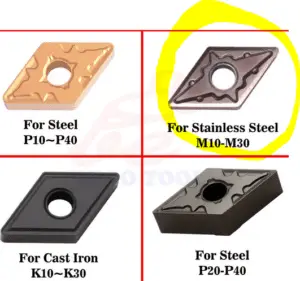
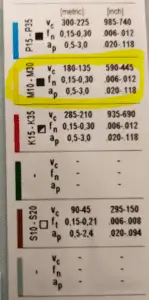
1. Tool Wear: Use always special end-mills, and drills to cut stainless, these specially designed cutting tools will stand against the stresses and also provide nice surface quality. Also, tool-wearing speed will decrease dramatically. You should prefer carbide tools and drills over HSS ones. Always look to the “M” ISO material class tools and use their specific cutting variables.
2. Heat generation: Heat generated during cutting is the reason for most failures, so keep cutting speed low (VC), from the manufacturer cutting value table always select lower cutting VC and Fz values and increase by experiment. Manufacturers generally tend to give faster cutting speeds (VC and Fz).
3. Chip management: To eliminate long and stringy chips use pecking and chip-breaking cycles for drilling. Some turning machines can prove chip-breaking function even for simple shoulder machining. Also, use M00 or M01 stop codes to clear stringy chips. Check tools often because stainless steel wears tools 3 times faster than mild steel.
4. Work-piece deformation: To protect the workpiece from deformation use conservative speeds and feeds, hard materials can increase tool deflection, and then your part will be out of tolerances because of tool deflection. So always have a rough and finished operation. Also, you can use a semi-finish operation before the final finish operation. This will be very effective for pocket wall finishing and contour machining. Sometimes you need to machine very high precision bearing housing holes, with stainless steel you should use an adjustable boring head otherwise part`s hole can become conic which will lead to a lot of problems when you try to put a bearing in.
5. Fume and dust generation & Surface finishing: Using coolant to bring down dust, also using coolant can eliminate sticky particles to stick the surface of the finished part. This will increase surface finishing quality. There is a reality that coolant makes tool`s cutting surfaces slippery and this causes a little fat tool wear. However with coolant also you can cut with better speeds and with ultimate surface quality. You can decide between cutting slow and spreading some oils, or going fast and cooling down with coolant and bringing particles down.
To eliminate the application level risks consider and apply these best practices.
1. Tool breakage: It is essential to take certain measures to avoid damaging one’s tools when machining stainless steel. First things first, check to see whether the tool you’re using is sharp. Tools that have lost their sharpness are more likely to shatter as a result of the additional strain they experience. Because stainless steel is a tougher material, you should reduce the speed at which you cut it. This is another reason why it is a good idea to keep your cutting speed moderate. Last but not least, pay attention to the depth of your cuts. Prevent deep cutting passes and keep ramping angle equal to or less than 2 degrees.
2. Breaking tap: When dealing with stainless steel, you should always use rolling taps since they reduce the stress of cutting a rigid material and, in essence, shape the thread. To halt the production of heat, you just need a lot of coolants. Make careful to refrain from cross-threading as well. Reduce the danger of breakage by starting the tap straight and aligning it with the hole being tapped if you are tapping by the handle. To alleviate tension, lubricate the tap with cutting oil and break up stringy chips by spinning in a CCW, CW motion. This will lessen the tap’s stress, heat, and friction. Finally, utilize drills with a little larger diameter rather than a standard one. If you need to drill a hole with a diameter of 5 mm for an M6 Tap, for instance, use a drill with a diameter of 5.2 mm. You check this article for more information about tapping.
3. Harming Part: To prevent harming the part you need to use your senses while machining manually, for example in a manual mill always watch the load on the spindle and half-lock the guide-ways of the table so the stainless part will not grab the tool because of looseness of guide-ways. You are preventing plunging failures in this way. If you machine stainless steel with CNC machines then before beginning to cut just adjust your work offsets to a higher Z-level so you can dry run and see the speeds and feeds. No one wants to put very expensive parts into the rubbish.
4. Forcing CNC machines at the ultimate-stress level: CNC machines are very stable for general-purpose cutting. Stainless steel can increase the level of stress in the machine and that can lead an over power usage and belt dislocation. Especially hobbyist machines are not suitable for stainless machining. If you have any problem with a rigid or non-rigid CNC machine always prefer high-Speed Machining tool paths. HSM tool paths generate programs that keep spindle load stable with very less stress.
10 Pro Tips for Working with Stainless Steel
In this section, we will give some hands-on pro tips and answers to common questions.
Tip-1: Keep low Spindle Speeds: Keep in your mind and do not go above more than 4000 RPM on any kind of stainless steel job. 4000 RPM can be a max. value for a 5mm Carbide end-mill and drill. For bigger diameter tools you need to decrease more between 1000-4000 RPM. You can always adjust feed per tooth as 0.03mm or 0.0012 inches.
Tip-2: If you use HSS drills and end-mills do not go more than 800 RPM. If you go higher RPM you always have a risk of melting the HSS drill and end-mill during cutting, the worst thing is clearing melted HSS. To clear the harmed area you need to use another carbide tool to clean the melted surface. So re-machining the bottom of the holes with carbide drills and End-mills is the fate of HSS users. So Prefer through-coolant carbide drills instead of HSS.
Tip-3: Prefer Coolant and cutting oil to prevent cutting-edge build. If you cannot stop edge-build then heat will increase and melted material will mash up around the tool and break it. Use through-coolant drills.
Tip-4: If you drill holes with a hand drill to stainless steel take extra care. If the material thickness is more than 3mm do not try to drill with a hand drill. You can drill holes with smaller diameter drills (let’s say 3mm,5mm) in a max 3-5mm thick stainless plate. Also, keep the hand drill straight.
Tip-5: Always use “M” class ISO material specifications and products.
Tip-6: For tapping prefer a rolling tap and if you do not have it then drill holes 0.2mm larger.
Tip-7: On milling operations do not plunge directly, use always a pre-drilled hole or use ramp plunging with a ramp angle of max. 2 degrees.
Tip-8: You can sell stainless steel chips more expensive than usual material chips, so before starting a high amount chip removal job, first, clean the CNC machine or any manual machines you will work, with to keep stainless steel chips pure and not mixed with others.
Tip-9: Prefer high-speed machining tool paths especially if your machines are for hobbyists.
Tip-10: If you want to machine key-ways on a stainless steel shaft then use a bull-mill with a radius, after finishing roughing with a bull-mill then finish with a standard square end-mill (with no radius) to clear leftovers of bull-mill on the bottom of the key-way.
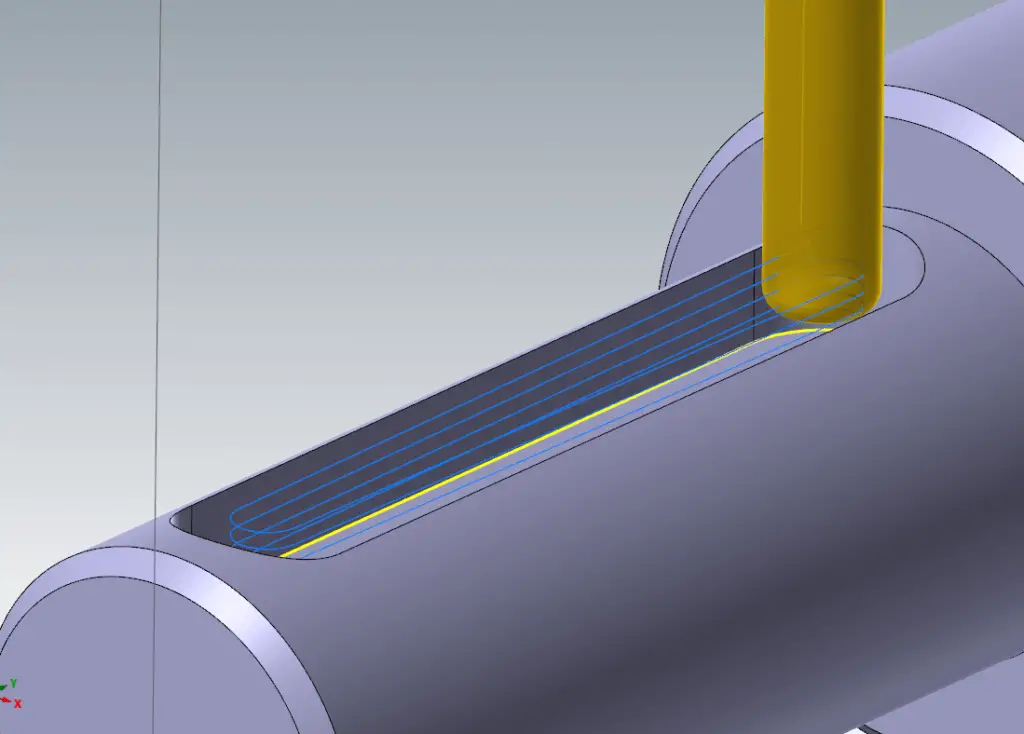
Keep in mind you cannot plunge easily, so with ramping along the key-way you can plunge at the same time, so you cut with radius without wearing edge. Just you need to adjust the plunging angle in one turn just as the radius. For example; if you use a 10mm Endmill with R0.5 does not plunge more than 0.5mm in 1 turn.
Should I use oil when drilling stainless steel?
Yes, can use any cutting oil to prevent edge-built and cooling down the heat.
What type of drill bit is best for stainless steel?
Cobalt and carbide drills are long-lasting options for drilling stainless steel. Carbide drills are a better option than cobalt drills so you can feed more and spin faster.
Helpful links.
Sandvik Coromat has a nice general drilling guide, check it from here.
Summary
In conclusion, this article provides an in-depth analysis of the challenges and risks of machining stainless steel, as well as best practices and pro tips to overcome them.
We’ve discussed the different stainless steel materials and grades, general and application-level risks, and methods to eliminate these risks. Additionally, we’ve provided 10 pro tips for working with stainless steel to achieve the best results.
By following the recommendations and best practices outlined in this article, you can effectively machine stainless steel while minimizing tool wear, heat generation, and workpiece deformation.

